CGI, 3D modeling and sculpting
CGI is used in many different industries. Visual effects, games, architecture, advertising, and many more utilize CGI technology. This blog will explain what CGI is and introduce the main techniques and software used for 3D modeling and 3D sculpting.
What is CGI?
CGI is an abbreviation that stands for Computer Generated Imagery. It is a broad term that includes 3D modeling, 3D sculpting, animation, particle simulations, rendering, and many other disciplines
CGI is used in many different industries. Visual effects, games, architecture, advertising, and many more utilize CGI technology. A large part of CGI is 3D modeling, as well as 3D sculpting. For this, a lot of different 3D software has been developed. Some of the most popular ones are Blender, Zbrush, Maya, 3D Max, Cinema 4d, bet there are many others as well. For example, specialized software for manufacturing and mechanical engineering and construction planning.
These are similar applications, and the basic principles are shared among all of them, although the terminology might be slightly different in each one of them.
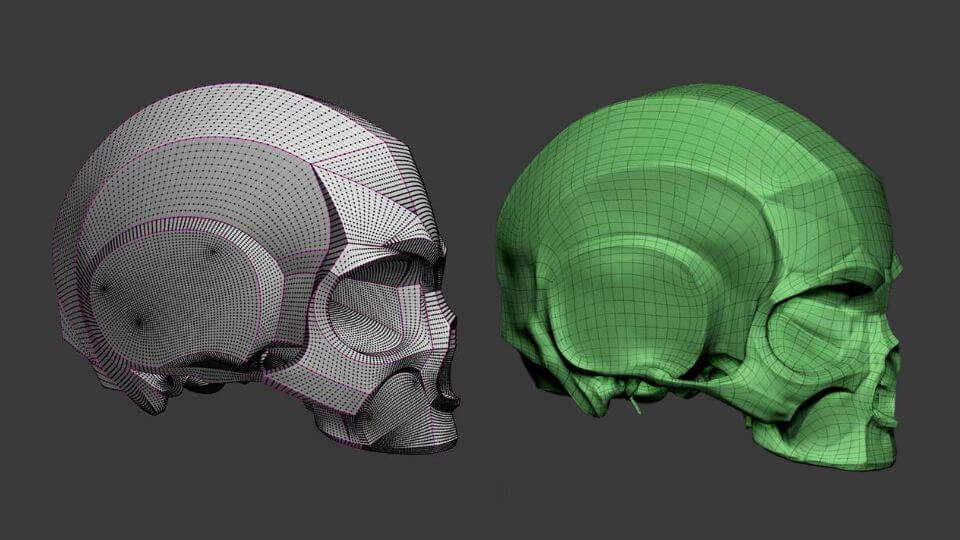
At its core, polygon modeling is manipulating points (vertices), edges, and polygons directly by moving, rotating, and scaling
When modeling in this way, topology is often essential, and it can be tricky to get it right.
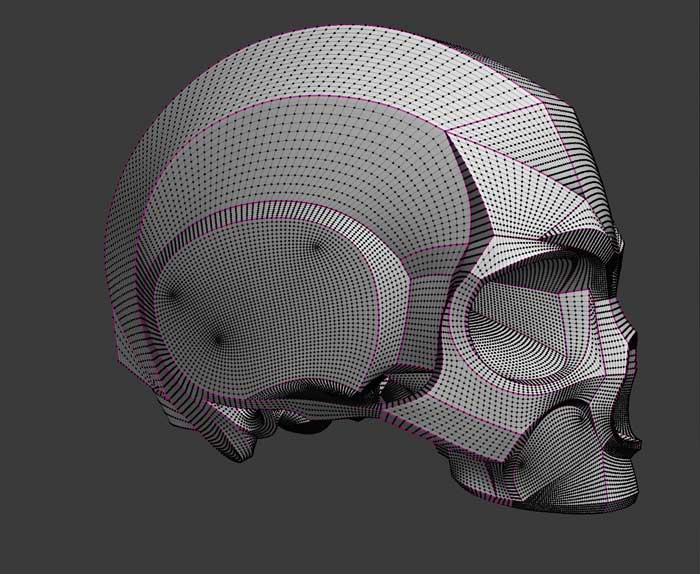
Firstly, the polygon count for a sculpted mesh is a lot higher, sometimes even several millions of polygons per object. This gives an artist the ability to manipulate the mesh indirectly, moving many points all at the same time using brush strokes, just like sculpting with digital clay.
The surface topology might not be essential when sculpting due to solutions in Zbrush like dynamesh, zremesh, or the more recent Sculptris Pro mode. When not constrained by directly manipulating polygons, an artist can focus more on the art side of his project, iterate faster, and arrive at the final design ideas much more quickly.
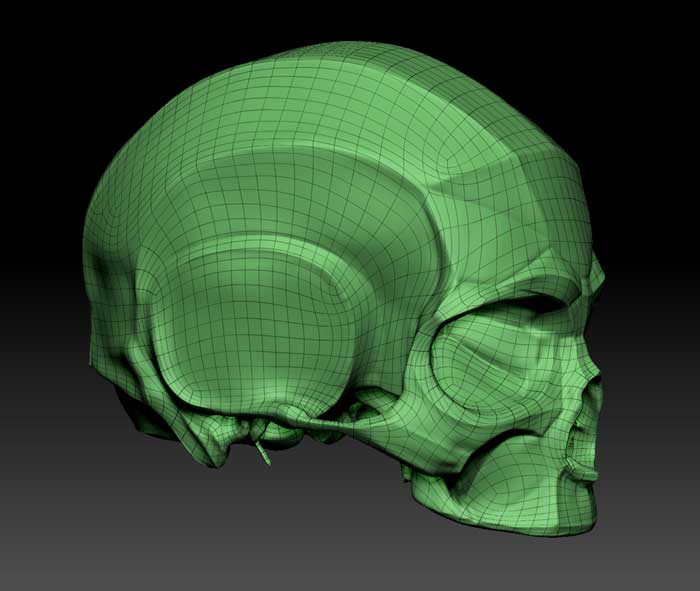
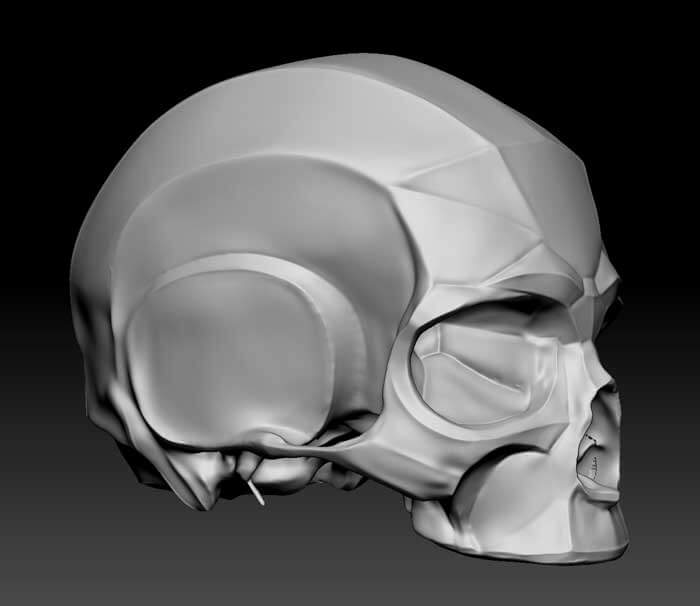
Sculpting in 3D has several advantages compared to poly modeling
When sculpting, an artist can have a lot more creative freedom. Additionally, sculpting tools allow for manipulating the mesh in such a way that it is not possible with 3D modeling tools. It does, however, come with its own shortcomings.
The sculpted mesh is often not directly usable as the final output in a production setting. It usually has several millions of polygons, has a topology that is not usable for animation, and is not optimized for use in real-time rendering. For example, in a game engine.
To prepare sculpted mesh for production use, like animation or importing to a game engine, several steps are required
Firstly, mesh re-topology is needed. This often means manually modeling a lower resolution mesh on top of the sculpted mesh, but can also mean tweaking existing base mesh to fit the sculpt. When it’s done, the small details are re-projected from the sculpt to the new mesh.
The next step is mesh unwrapping, which is a necessary step so that 2D textures can be applied to the 3D model. Before that, however, it is common to extract (bake) various mesh maps from the high poly model. Most commonly, a normal map is extracted, but other maps such as ID, curvature, or ambient occlusion can be helpful to bake as well. When baking mesh texture maps are complete, it is time for texturing.
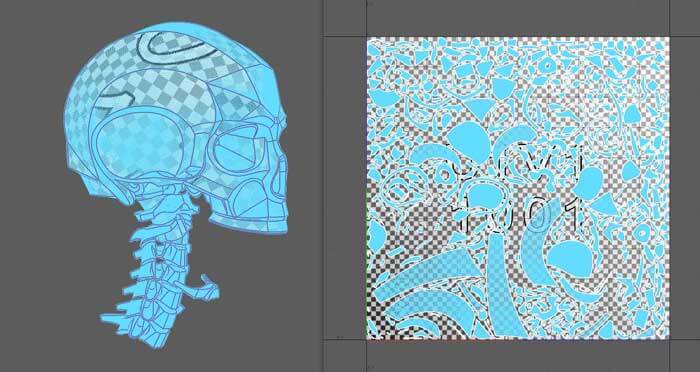
Textures can be applied procedurally or can be painted by hand, or as a combination of both approaches. When texturing, it is a good approach to work with metal-roughness or specular-glossiness workflow. These are the two most common ways to describe optical material properties for a rendering engine.
It was a rather complex task to render the correct anatomy and at the same time not to be too naturalistic and lose the aesthetic dimension.
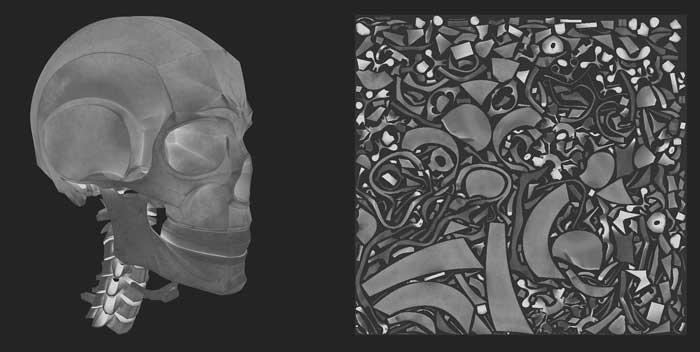
With texturing done, an artist has a fully production-ready model that can be put in a game engine or an offline renders like Arnold or Redshift.
3D animation
If a model needs to be animated, it would first need to be rigged and skinned to describe how the model can move, if it has joints, and which parts of it would get affected when moving. Sometimes, especially when animating character faces, blend shapes are used to describe motion. Blend shapes are most commonly used for facial expressions, where an artist sculpts a facial expression, thus enabling the face to be animated between two or more different expressions.
The final 3D model render
When preparing a model for the final render, many other considerations might be needed, For example, hair, cloth modeling, simulation, different material properties, subsurface scattering, and so on. Each little detail adds to the realism of the final model.
Create a realistic human
Anatomy of Sculptors: Understanding the Human Figure – for the base information of creating a human from head to toe. And, Anatomy of Facial Expressions – for a more in-depth dive in facial expressions.
They were then able to convincingly depict its distinctive parts in their artwork. Just like their predecessors, they constructed their figures with an aesthetic ideal in mind, but it was done so skillfully that the anatomy became believable as well.
Join our newsletter
Be the first to receive news about upcoming books, projects, events and discounts!