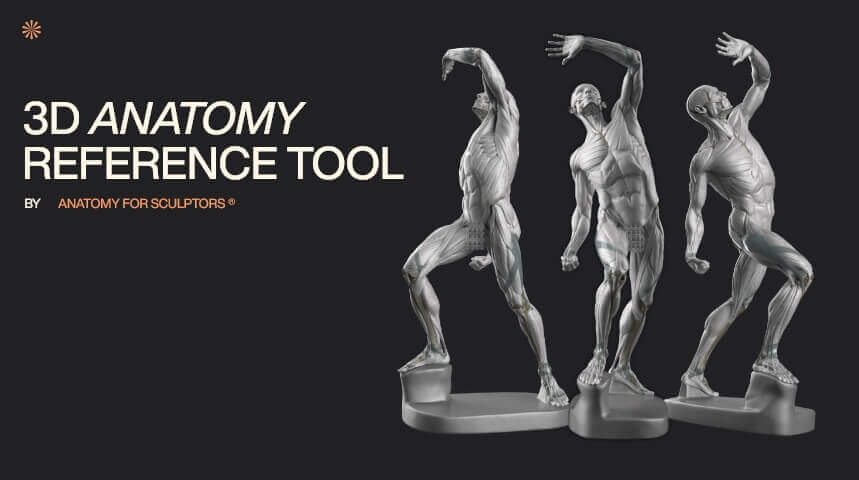
3D Anatomy models for artists
3D Reference Tool is much more than just a library of scans. Here, you will find 3D anatomy references – block-outs, anatomy models, and realistic assets – to help you understand and create realistic human anatomy.
In this blog, we’ll show how to form the head by starting with simple shapes and gradually adding structure and detail. We’ll begin with base forms like the helmethead and egghead, move through first- and second-level blockouts, and then look at the anatomy and variation that shape the head.

The head is full of complex organic forms. But we don’t need to start with complexity. Instead, we start with simple shapes to understand the foundation, then build up.
That’s the simple-to-complex method – it’s quite simple! It’s not a step-by-step process. It’s a way to think about form.
Uldis Zarins explains the Simple-to-Complex method.
This mindset helps you break down what you see and understand how to shape it. Whether you’re sketching or sculpting, you’re always solving visual puzzles. This method helps you do that with fewer guesses.
There are two solid ways to start shaping the head: the helmethead and the egghead. Either one works as a good base. Use whichever helps you see the form more clearly.


Helmethead on the left and egghead on the right.
You don’t need to pick one forever. Try both. Some artists start with an egghead, and some – with the helmethead. These are both good ways to get going. The more detailed blockouts come later, but this first move gives you a great foundation and understanding of the base form of the head.
For this blog, we’ll use the helmethead as the base. To make it, take a ball of your material and slice off the sides. These cuts define the temples and cheeks.


First step towards a helmethead: cut a sphere’s sides off.
Once you’ve got the big shape, you start adding rough details. To transition to a first-level blockout:
The first-level blockout isn’t about fine detail – it’s about locking in major facial structures and transitions.
First, we set key head landmarks using proportions. Cut off the top sixth of the head (crown to hairline) to isolate the face. Then, divide the rest into thirds: hairline to brow, brow to the bottom of the nose, and nose to chin.


Helmethead with reference lines on the left and with carved out rough forms added on the right.
Next, split the bottom third into three equal parts: nose to mouth, mouth to upper chin, and the chin itself. The blue line marks the head’s midpoint, which lines up with the eyes. These guides use proportions to help you place features as you move from helmethead to first-level blockout.
After that, start carving rough forms, defining the temporal line, forehead, brow, nose, mouth plane, cheekbones, and ears. Then, add forms like the eyeball masses, mouth, and chin. From here, it’s a small step to define these shapes fully and reach the first-level blockout.


Filling in the eyes and mouth area on the left and 1st-level blockout on the right.
Moving to the second-level blockout is straightforward. You refine the forms shaped in the first-level blockout, adding more detail The second-level blockout adds more fine detail – it’s somewhere between the first-level blockout and the realistic complex organic forms.


A 2nd-level blockout with reference lines and the elements of the head matching them.
To get here from the first-level blockout, you need to add detail to the elements of the head and their surrounding areas:


1st-level blockout on the left and 2nd-level blockout on the right (color-coded eye area).
These shapes aren’t random. They’re tied to what’s underneath – bone, muscle, and fat. So let’s take a look at the anatomy underneath so that the structure of the egghead, helmethead, and both levels of blockouts makes more sense.
Now, let’s tie all the abstract shapes to some real human anatomy. This will help us understand where the forms originate from. Through this understanding, we’ll be able to improvise more easily in our artworks.
The skull is a static structure, which helps us define some bony landmarks – helpful unchanging anchor points. However, the muscles and fat bring variety – their volume differs from person to person, and they’re both dynamic, each in their own sense.


The temporal line is the attachment point for the muscles of mastication.


The masseter muscle adds roundness to the back of the cheek.

Unlike the masticatory muscles, facial expression muscles don’t add any volume to the face.

Facial fat deposits greatly affect the form of the face.
This overview only scratches the surface of the complex anatomy of the human head. However, it gives us a good idea of the main factors affecting the overall shape of various elements of the head.
No two heads are shaped exactly the same. However, some differences follow clear patterns. There are sex, age, and ethnicity-based variations that can be used to make your characters more diverse.
This section reviews some very distinct and contrasting phenotypes to help you understand the range of human variation. They’re not rules or ideals, and we don’t suggest that this is the only way a man, woman, or person of a certain background should look. However, learning these defining forms gives you the tools to shape any character you want.

Comparison of a male and female skull.

The gonial angle of a female and male jaw.
Remember! These are averages – not rules! But they help immensely when you want to shape more male or female-looking facial features.

Development stages and proportions of the human skull.

Skulls of a newborn and elderly person, alongside adult male and female skulls for reference.
These changes are tied to bone growth, tooth wear, and bone density loss. It’s not essential to memorize what a gonial angle is – observe and understand the shape shifts.
There are many different distinct head shapes due to genetic and environmental factors. These are the things to keep in mind regarding this:

Different head shapes – illustration and live model view.

If the zygoma sits more anteriorly, it makes the face flatter.
We’re genetically wired to be really good at recognizing faces, so knowing these variations helps you build faces that feel real, believable, and recognizable – the kinds we respond to.
Don’t just copy the images you see here. Understand what they show. The simple-to-complex method is primarily a tool to help you break down and understand complex organic forms. It’s also beneficial to learn the underlying anatomical structures supporting these forms.
If you really feel like it, you can follow the blog and organize your workflow as it’s written, going like this:
foundation → 1st-level blockout → 2nd-level blockout → organic forms
However, this is not meant to be a workflow. It’s a way of seeing and recognizing the organic forms. You always start with the foundation and marking the rough landmarks, but from there, you can largely proceed as you please!
Remember! The goal isn’t to follow steps. The goal is to understand the form.
You can learn about this topic in more detail exploring our book Form of the Head and Neck – just grab it from our webstore!

3D Reference Tool is much more than just a library of scans. Here, you will find 3D anatomy references – block-outs, anatomy models, and realistic assets – to help you understand and create realistic human anatomy.

This book takes the complex topic of dynamic anatomy and makes it clear through the power of visual language – various 3D models, live reference images, and color-coded diagrams.
Be the first to get news about our upcoming discounts, books, tools, articles and more! No spam, just the good stuff.